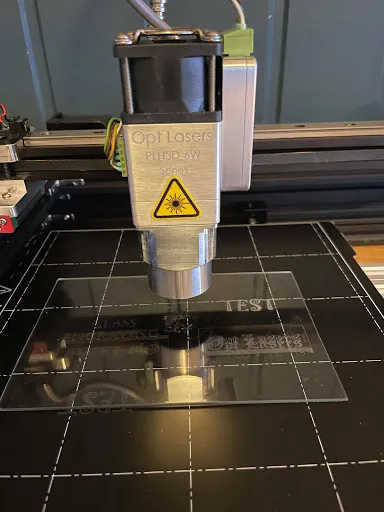
Laser Engraving Transparent Materials with CNC Lasers
When laser light reaches a material, it is partly transmitted, reflected and absorbed. The balance between these effects depends on both the material and the laser wavelength.
Transparent materials transmit light without macroscopic scattering and appear clear (e.g., plate glass; amorphous plastics such as acrylics, PEI, PC, ABS, PS). Some crystalline-polymer films (PET, PP) are transparent when biaxially oriented, which aligns molecules and reduces refraction.
Translucent materials transmit light with scattering, so objects behind them appear fuzzy (e.g., tinted/frosted glass, many plastics). For polymers, higher crystallinity generally reduces clarity; semi-crystalline plastics (e.g., nylon, PE, PET, PBT, PP) can be translucent or opaque due to refractive-index differences between crystalline and amorphous regions.
Clarity depends on production method (e.g., random polymerization), additives (clarifiers/nucleators), finishing, and color. Blue tints can reflect blue-laser light to a degree; glossy surfaces are harder to engrave. Thickness strongly affects transmittance—thin films often pass more light. Absence of defects (cracks/voids) improves transmission; oxidation or degradation reduces it.
Rule of thumb: materials with high transmittance and low haze engrave less readily unless you add an absorbent layer. Haze is the fraction of transmitted light scattered by >2.5°, so lower haze means higher clarity.
Explore Laser Solutions for Transparent Materials
Laser Engraving Translucent and Transparent Materials
You can engrave clear materials, but outcomes depend on reflectivity, transmittance and haze. Adding an absorbent layer lets you deposit energy precisely where it’s needed.
Key parameters:
- Material type (glass, acrylic, crystal, polymer films) and finish (gloss, tint).
- Absorbent layer selection (tape, paint, marker) and thickness.
- Focus setting and lens choice (spot size vs. depth of focus).
- Feed rate and laser power (%/PWM), plus air assist where relevant.
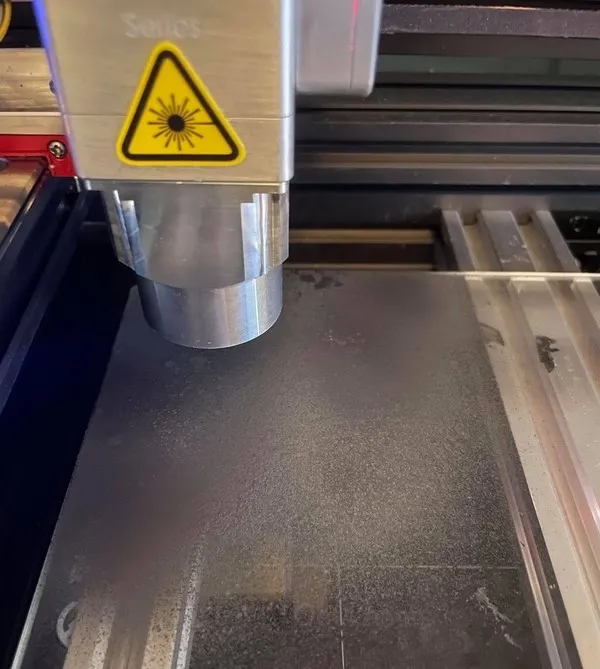
Method 1 — Dark Layer Under the Transparent Workpiece
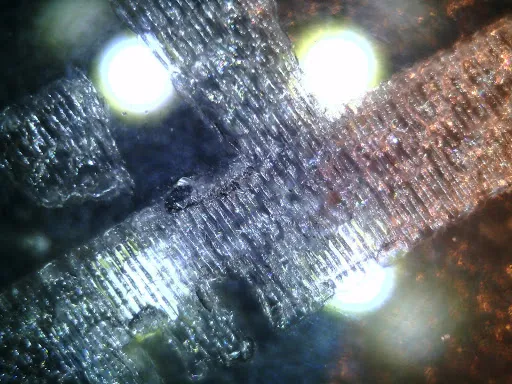
Place a dark/black layer beneath the sheet and focus at the interface so energy is deposited inside the transparent material right at that boundary. Works best on flat stock.
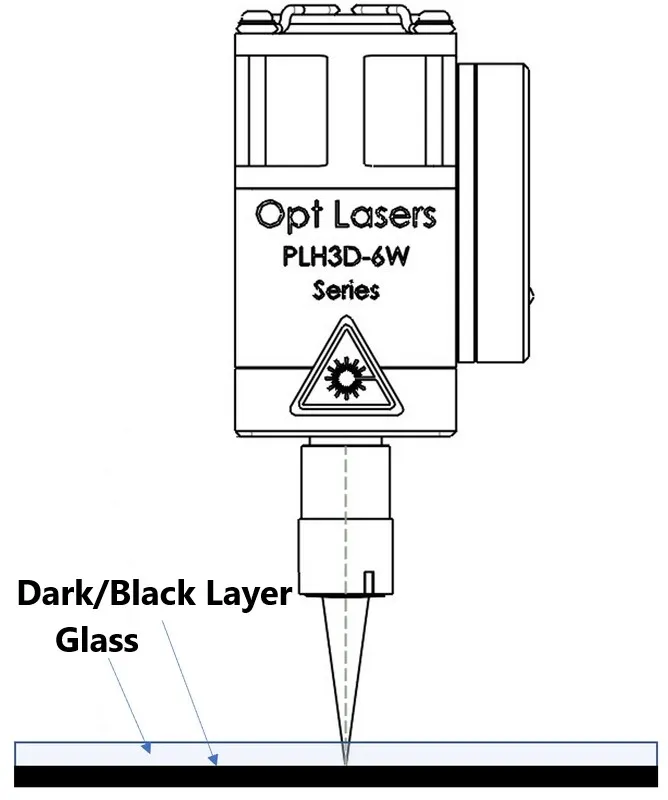
Focus tip: calibrate the working distance so the focal spot coincides with the interface between the dark layer and the glass.
For working-distance calibration see the PLH3D-6W-Series laser heads manual.
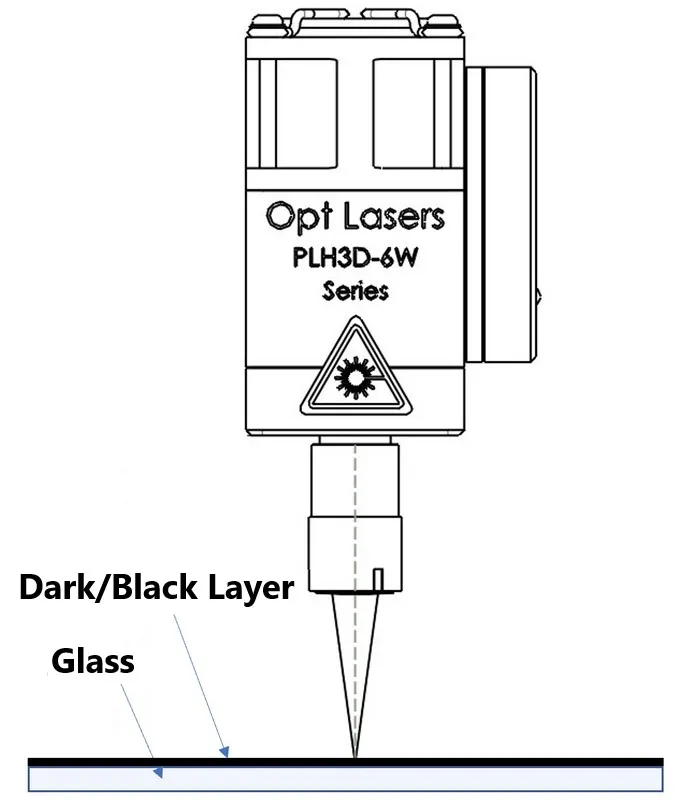
Method 2 — Dark Layer on the Surface
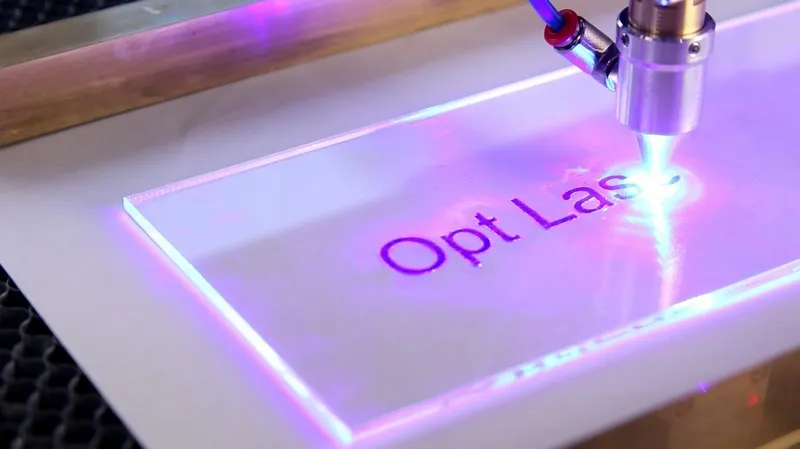
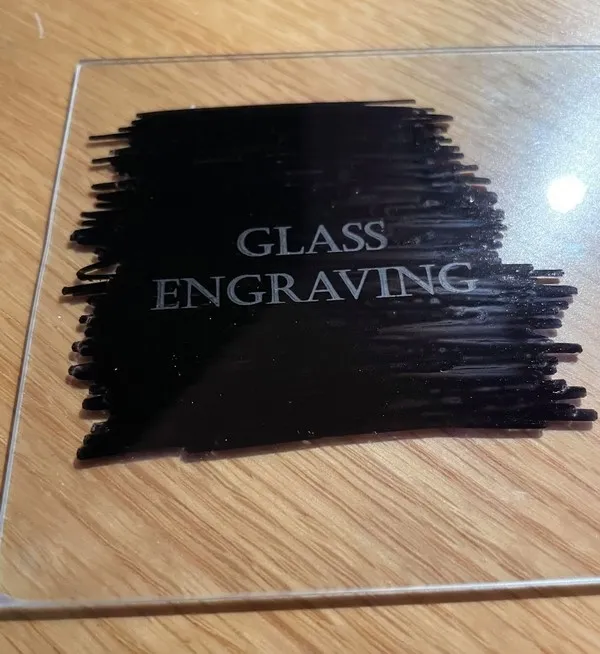
Apply a dark surface layer (e.g., tape, paint, marker) so the beam is absorbed at the top surface. Focus on the layer itself. Choice of coating affects contrast and edge texture.
Testing Different Methods
Examples below illustrate parameter ranges and finishes achievable using interface and top-layer techniques on glass and acrylic.
Glass on Dark Metal Backing

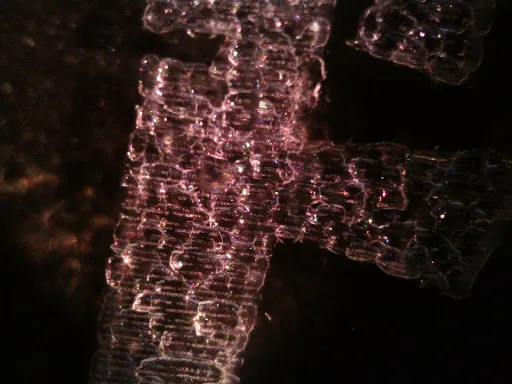
Acrylic on White Paper Backing
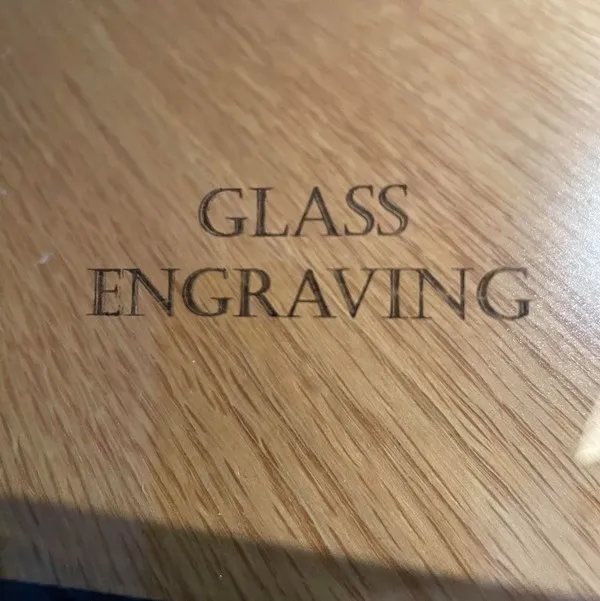
Lay a white sheet of paper beneath clear acrylic and focus at their interface. Example setting: 100% power, 1 000 mm/min (tune to your machine and optics).


Surface Coatings as Absorbing Layers
Permanent marker (example): 80% power, 40 mm/s; coverage can be uneven depending on marker type.
Ink can be removed with acetone/nail-polish remover; some residue may remain inside the engraved micro-pits.
Acrylic spray paint (example): thin coat, 30-minute dry, 100% power at 30 mm/s. This yielded the most consistent results and a sand-blasted texture after cleaning.
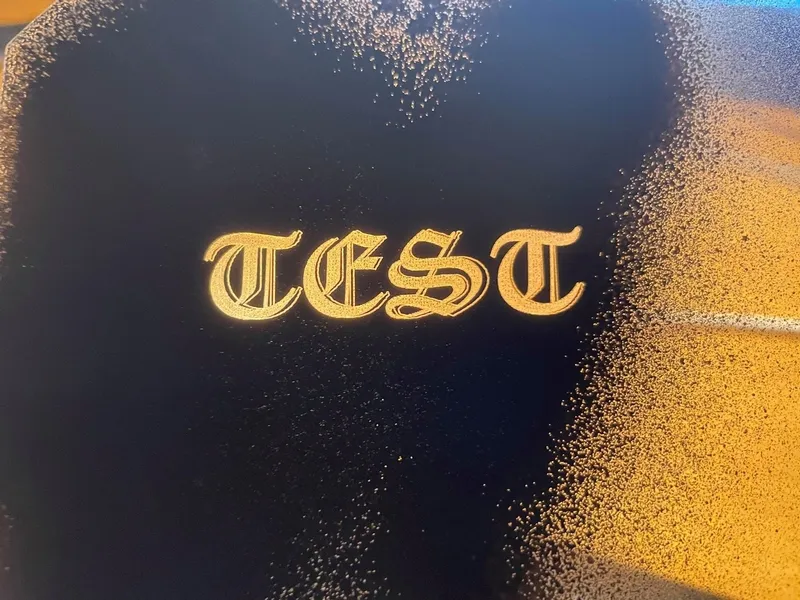
Rinse the dark spray with hot water promptly after engraving for easier removal.
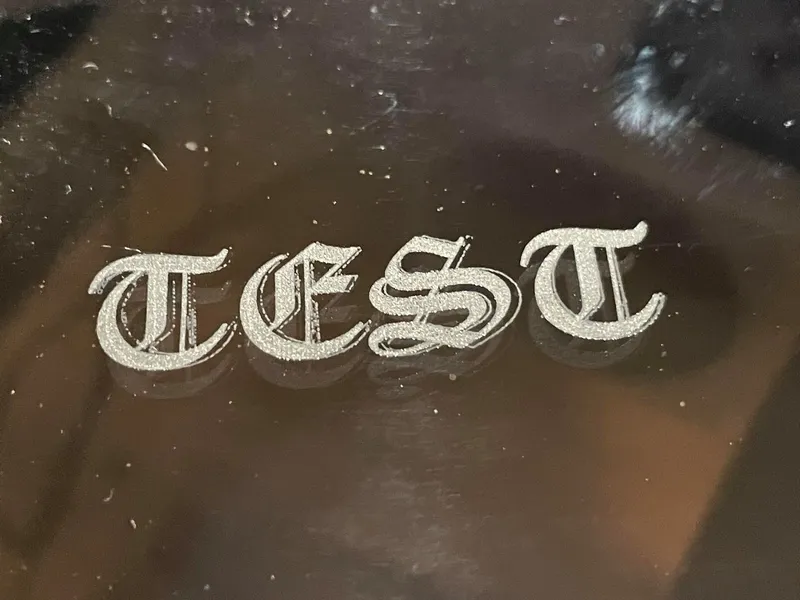
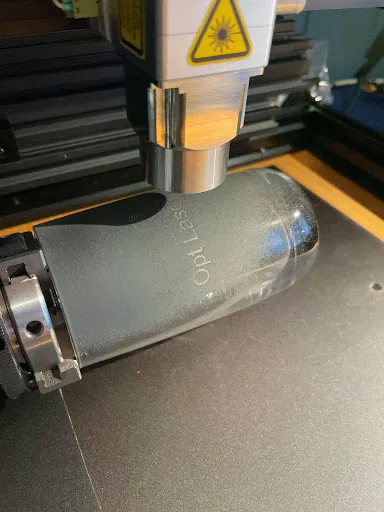
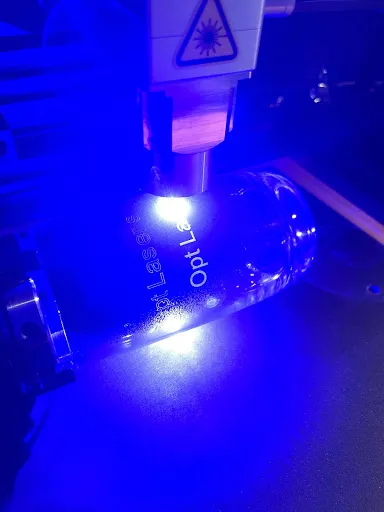
Rotary Engraving on Curved Glass (Top-Layer Method)
Example settings: 100% power, 30 mm/s. Multiple test passes may be needed to dial in focus and feed for your glass type and coating.


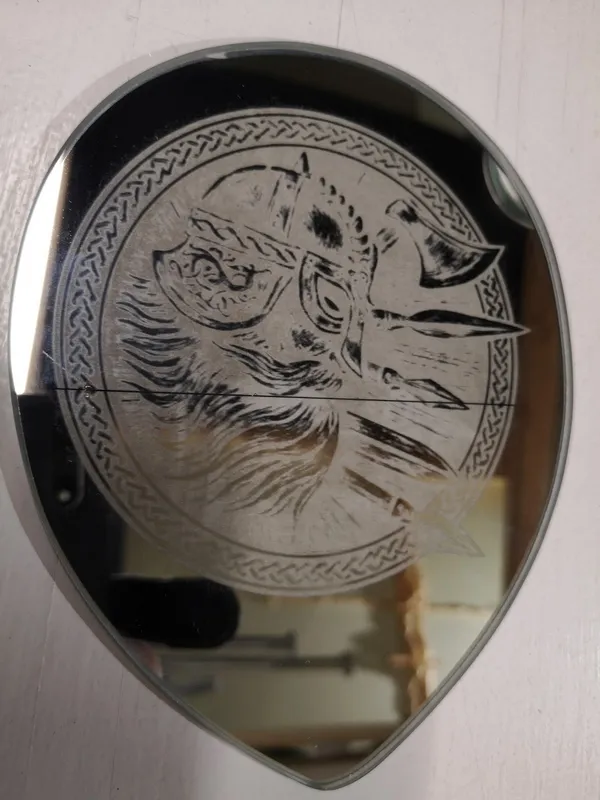
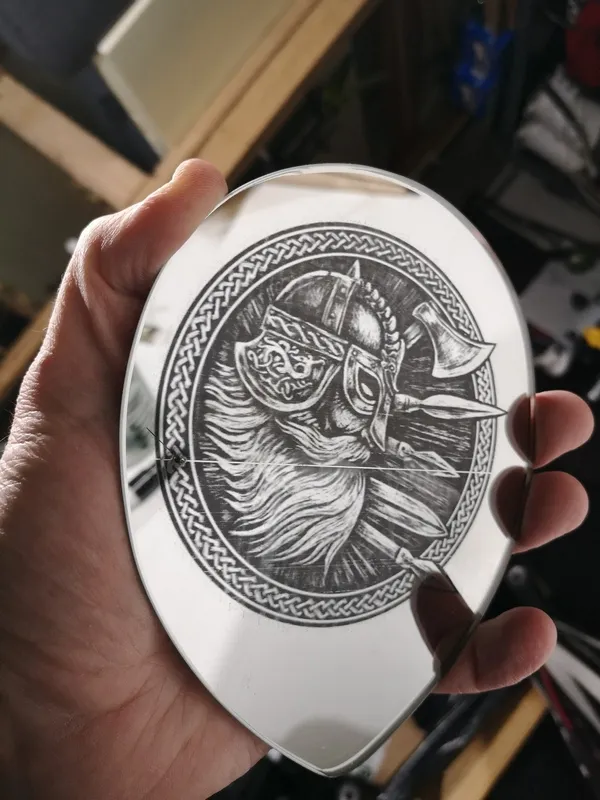
Laser Engraving a Glass Mirror
Use a standard second-surface mirror (reflective coating behind glass/acrylic) and engrave from the back. Mirror your artwork so it reads correctly from the front.
- Prepare high-contrast artwork and mirror it horizontally.
- Place the mirror reflective-coating side down (laser points at the solid back).
- Start with 0–100% power at 5 000 mm/min (example); tune for your hardware. (20% at 5 000 mm/min was insufficient in the example test.)
- Engrave, then wipe away debris. Optionally color-fill the transparent engraved areas (marker, spray or latex brush).
Video Guide
Laser Engraving Transparent Acrylic
Calibrating Working Distance (PLH3D-Series)
Choose a CNC Laser Upgrade Kit
Use our configurator to pick the right laser head and kit for your machine.
We would like to offer our special thanks to Øyvind Sætre Amundsen and Peter Lydman for laying the groundwork for this article, which included finding out and testing how to laser engrave transparent materials as well as writing initial text for the “Laser Engraving Transparent and Translucent Materials”, “Testing Different Methods” and “Laser Engraving Glass Mirror” sections, which was later worked upon and edited by our Web Development Team.