LightBurn Workspace Optimization – Layout, Grid & Snapping

Optimizing your workspace in LightBurn enhances precision, efficiency, and ease of use. This guide covers layout management, grid settings, and snapping options to help you streamline your CNC laser projects.
Workspace Layout & Customization
LightBurn's workspace reflects your machine's working area, helping you position designs accurately. Key customization steps:
- Adjust machine dimensions in Device Settings for an accurate workspace scale.
- Use the Arrange panel to align, distribute, and manage objects efficiently.
- Enable rulers and guides for visual assistance during design placement.
Grid Settings – Precision & Reference
The grid provides a visual reference for object placement and scaling. To optimize:
- Go to Edit → Settings → Grid & Snapping.
- Adjust grid spacing to match your project needs (e.g., 10mm for general use, 1mm for fine details).
- Enable Major & Minor grid lines for layered visibility.
Snapping Options – Enhanced Alignment
Snapping helps align objects precisely without manual adjustments. Recommended settings:
- Enable Snap to Grid for structured layouts.
- Use Snap to Objects to align edges and centers of shapes quickly.
- Adjust Snap Distance to balance precision and ease of use.
Workspace Optimization with Opt Lasers Hardware
For best results, pair LightBurn’s workspace tools with Opt Lasers’ Plug&Play Diode Laser Kits. These kits ensure hardware accuracy that matches your software workspace, eliminating calibration guesswork and enhancing productivity.
Next Steps: Apply Optimized Workspace in Real Projects
Once your workspace is optimized, explore practical examples of precise layout and snapping usage in our LightBurn Projects – Practical Use Cases.
Kup licencję LightBurn razem z naszymi modułami laserowymi i zaoszczędź 10%
PLH3D-XT-50
Precyzyjne grawerowanie

- Moc optyczna 6 W
- Ultra HD 550 DPI – plamka 45 μm
- Maksymalne cięcie drewna (1 przejście): 3 mm (⅛")
- Optymalny do precyzyjnego grawerowania i skomplikowanych detali
- Łatwy zestaw Plug & Play z instrukcjami
PLH3D-XT8
Wysokowydajne cięcie i grawerowanie
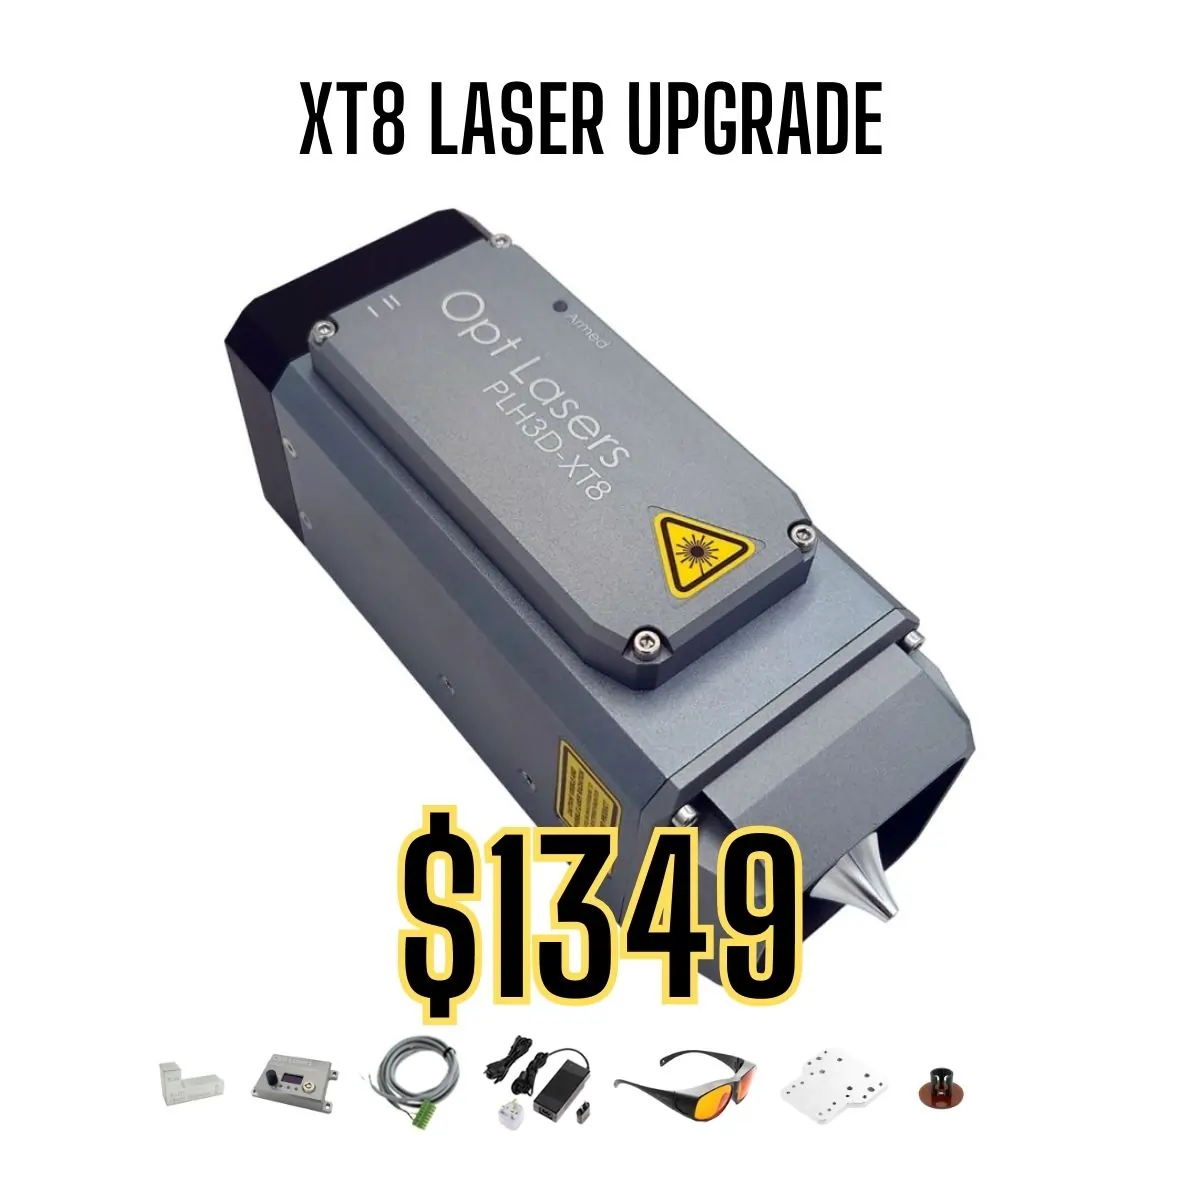
- Moc optyczna 45 W
- HD 125 DPI – plamka 180 μm
- Maksymalne cięcie drewna (1 przejście): 20 mm (¾")
- Optymalny do szybkiego grawerowania i głębokiego cięcia
- Grawerowanie drewna z prędkością 350 mm/s (827 cali/min)
- Cięcie sklejki z prędkością 22,5 mm/s (53,1 cali/min)
- Łatwy zestaw Plug & Play z instrukcjami
PLH3D-XF+
Rozwiązanie podstawowe

- Moc optyczna 6 W
- Standard 85 DPI – plamka 300 μm
- Maksymalne cięcie drewna wieloprzejściowo: 3 mm (⅛")
- Idealny do zastosowań hobbystycznych i małych projektów
- Łatwy zestaw Plug & Play z instrukcjami