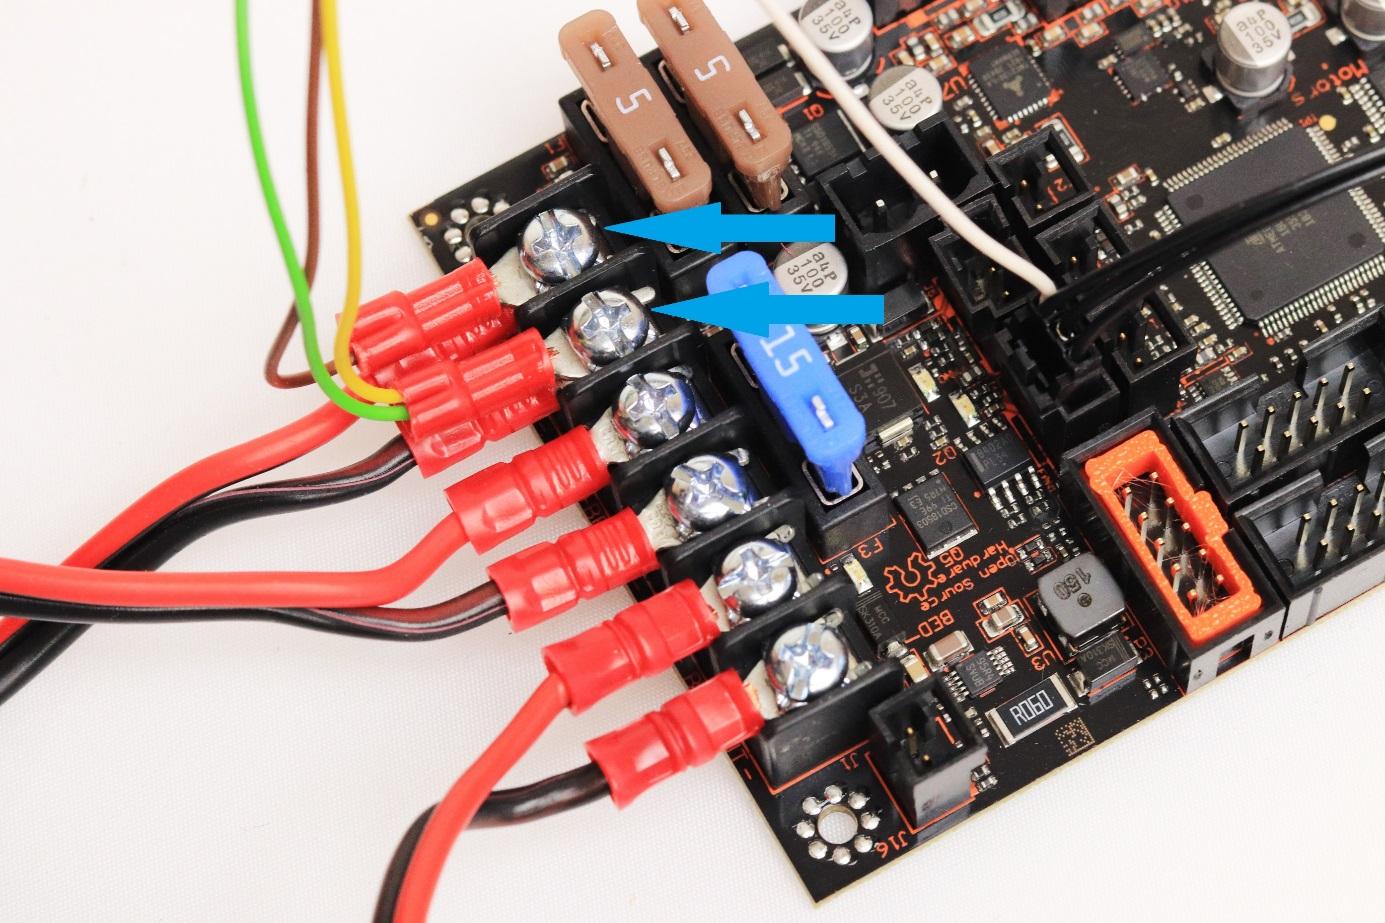
- Connect PWR- and PWR+ (parallel to wires that have been connected already)
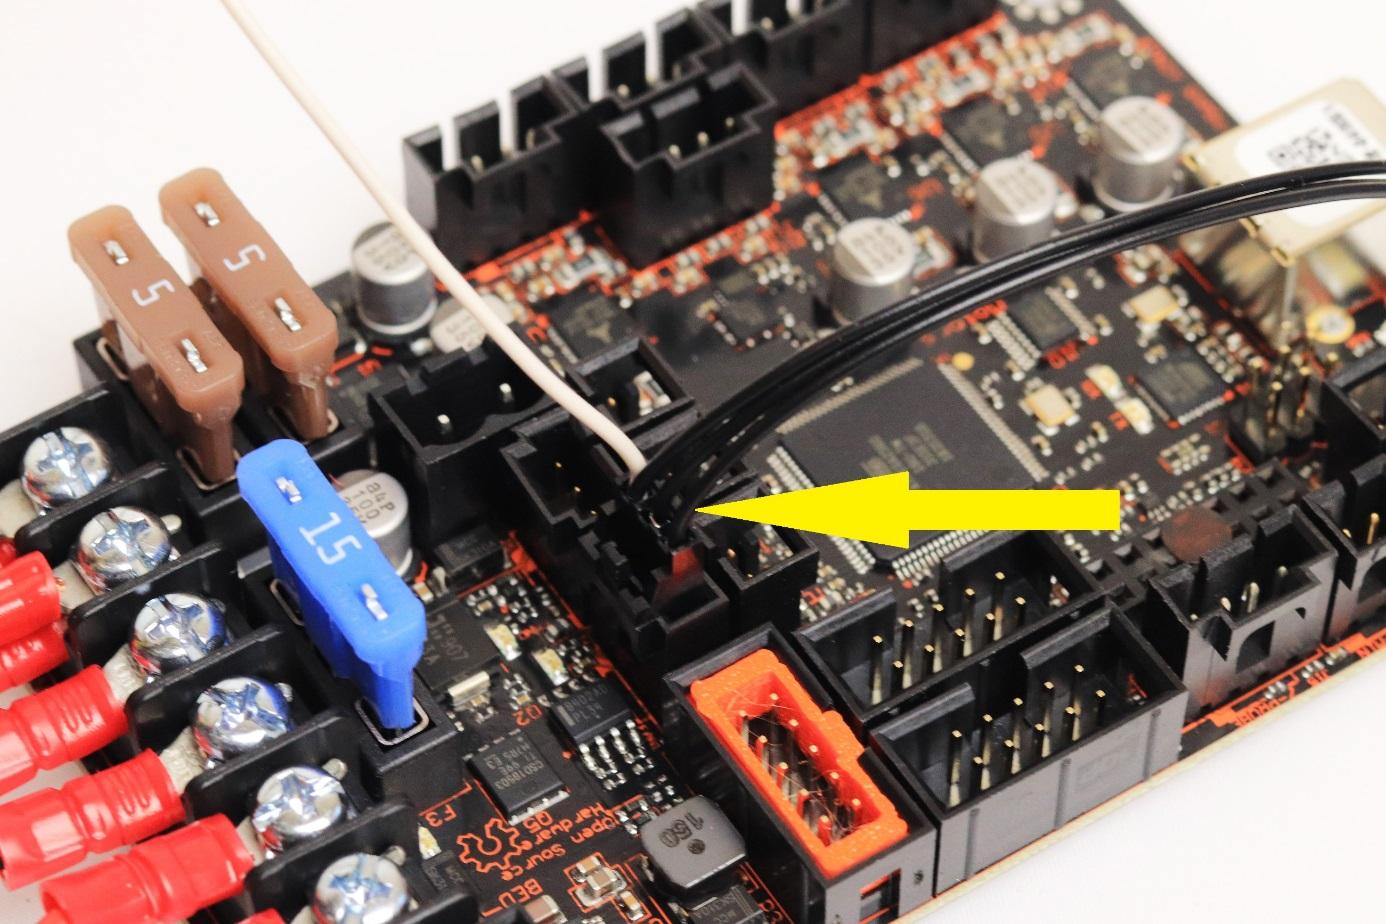
- Connect laser control input to the connector on EINSY board (instead of front print fan cable).
- Check with photo below, if you plugged those in correct slots.
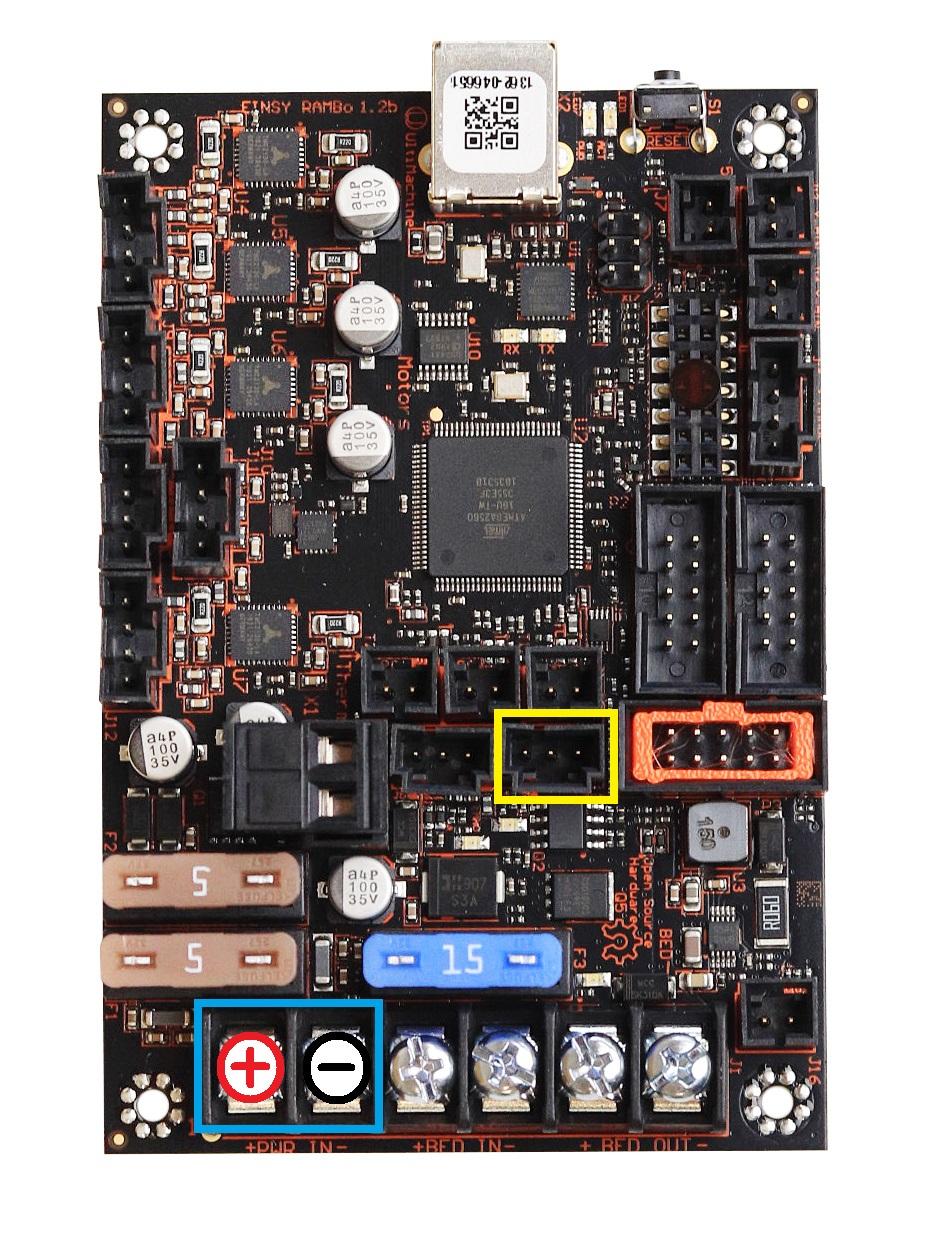
- Connect front print fan cable.
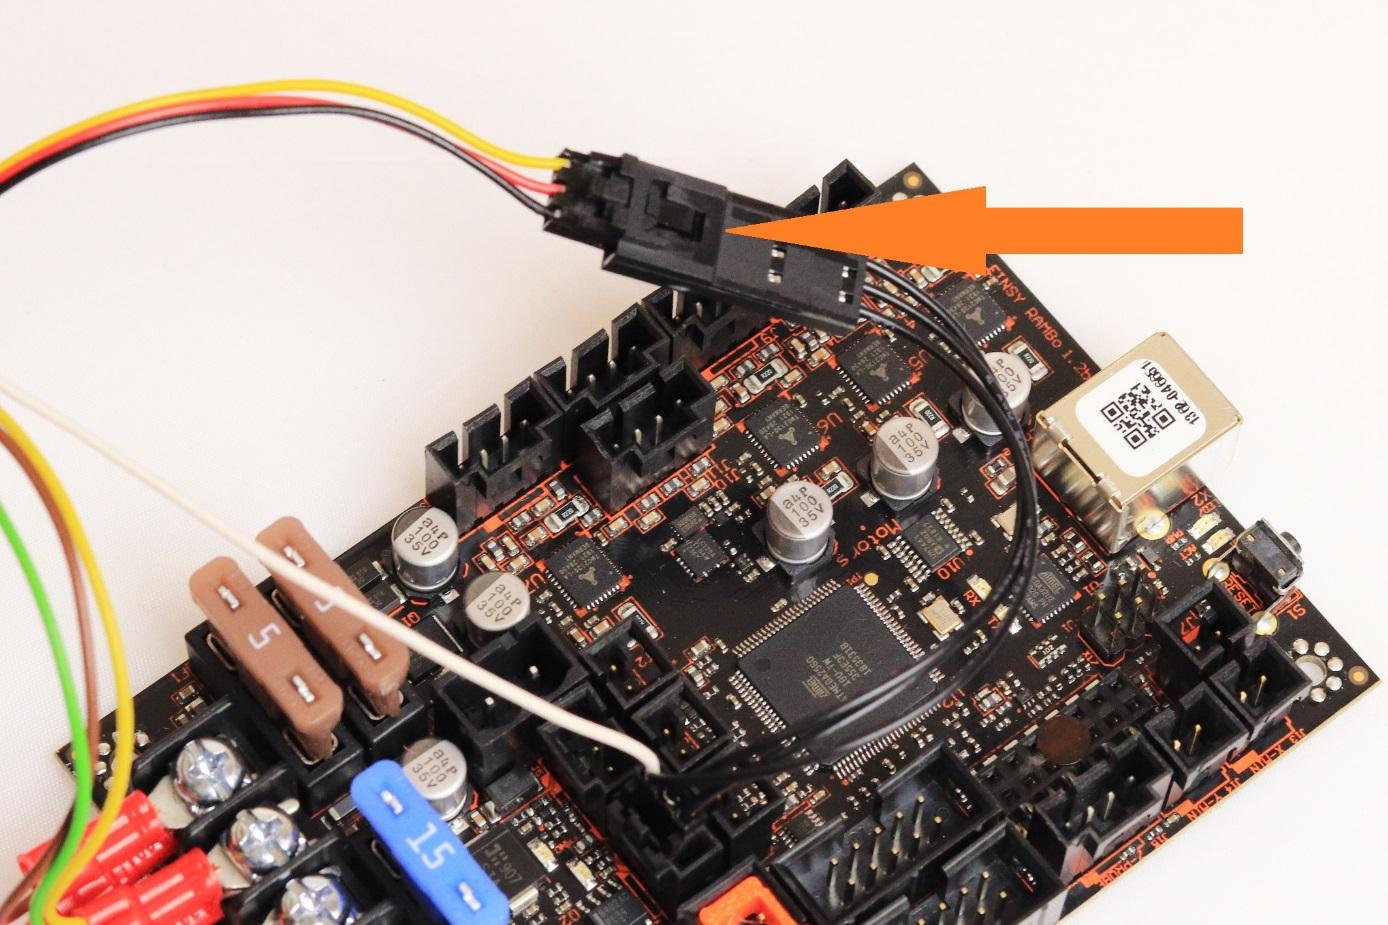
- View of wires connected.

- Unwrap the cable bundle which connects EINSY board with extruder and dismount X-carriage-back.
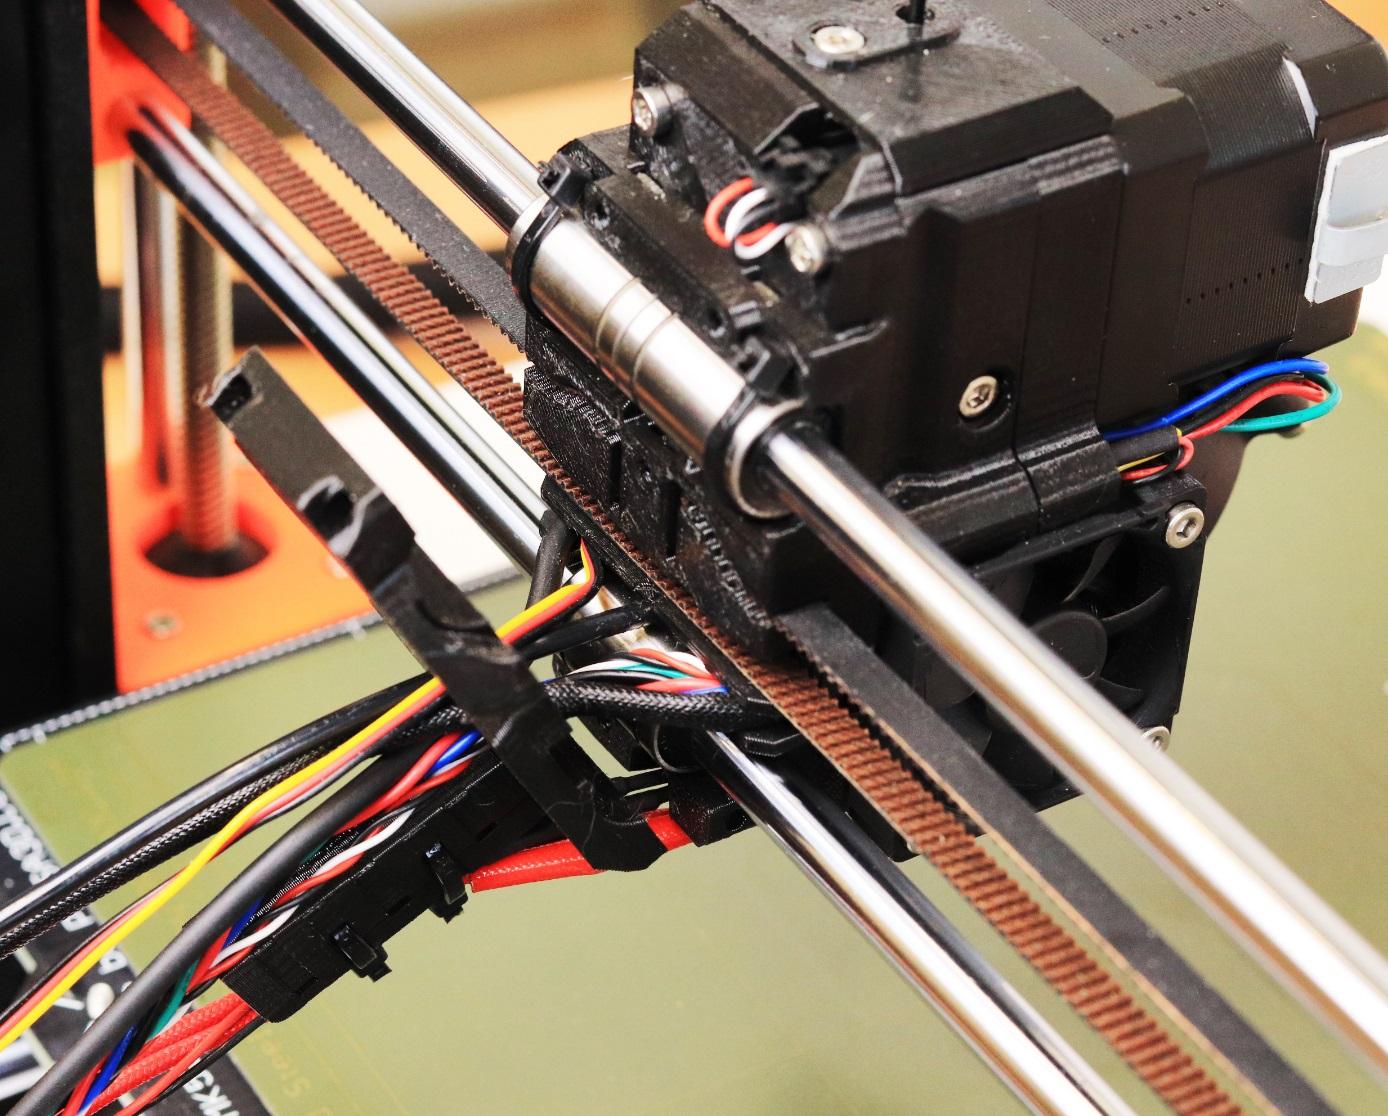
- Pull the black nylon filament guide, P.I.N.D.A. sensor cable and hotend fan cable through the X-carriage-back to make more space. Push PLH3D-2W laser head cable through the hole, to the extruder side.
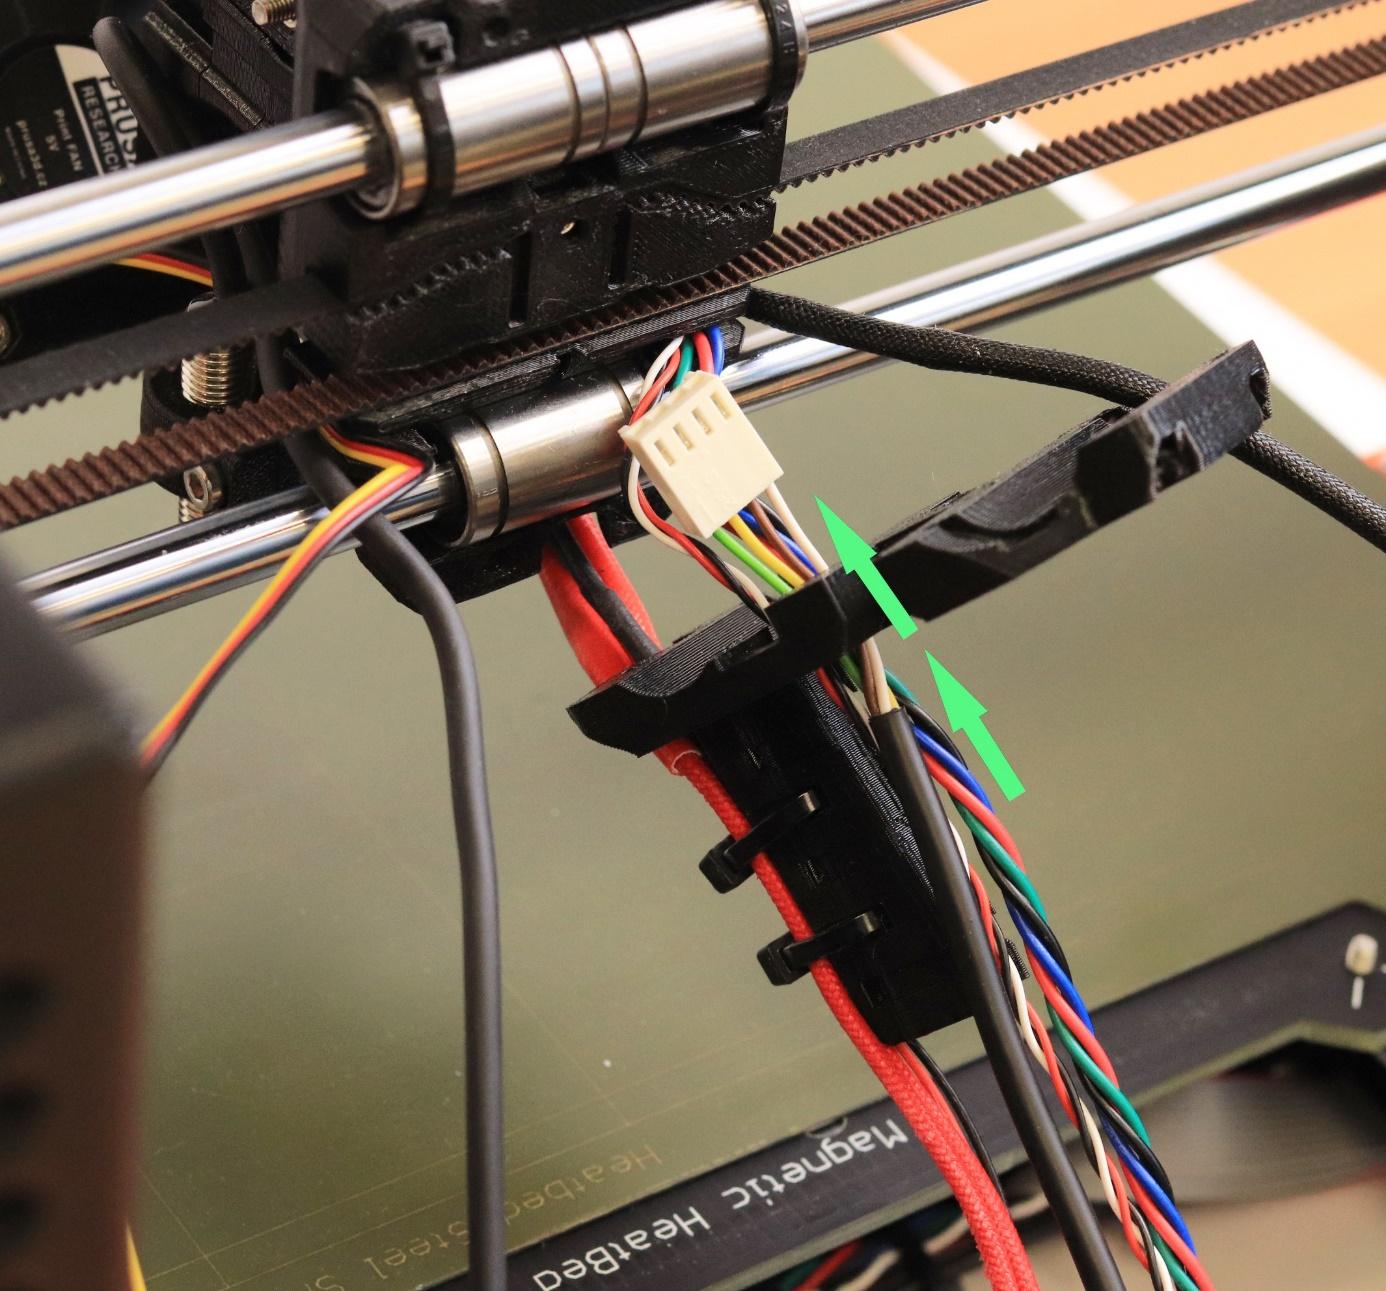
- Push black nylon filament guide, P.I.N.D.A. sensor cable and hotend fan cable back.
- Push the PLH3D-2W laser head cable in the channel together with the P.I.N.D.A. sensor and fan cables. Use zip tie to mount it firmly.
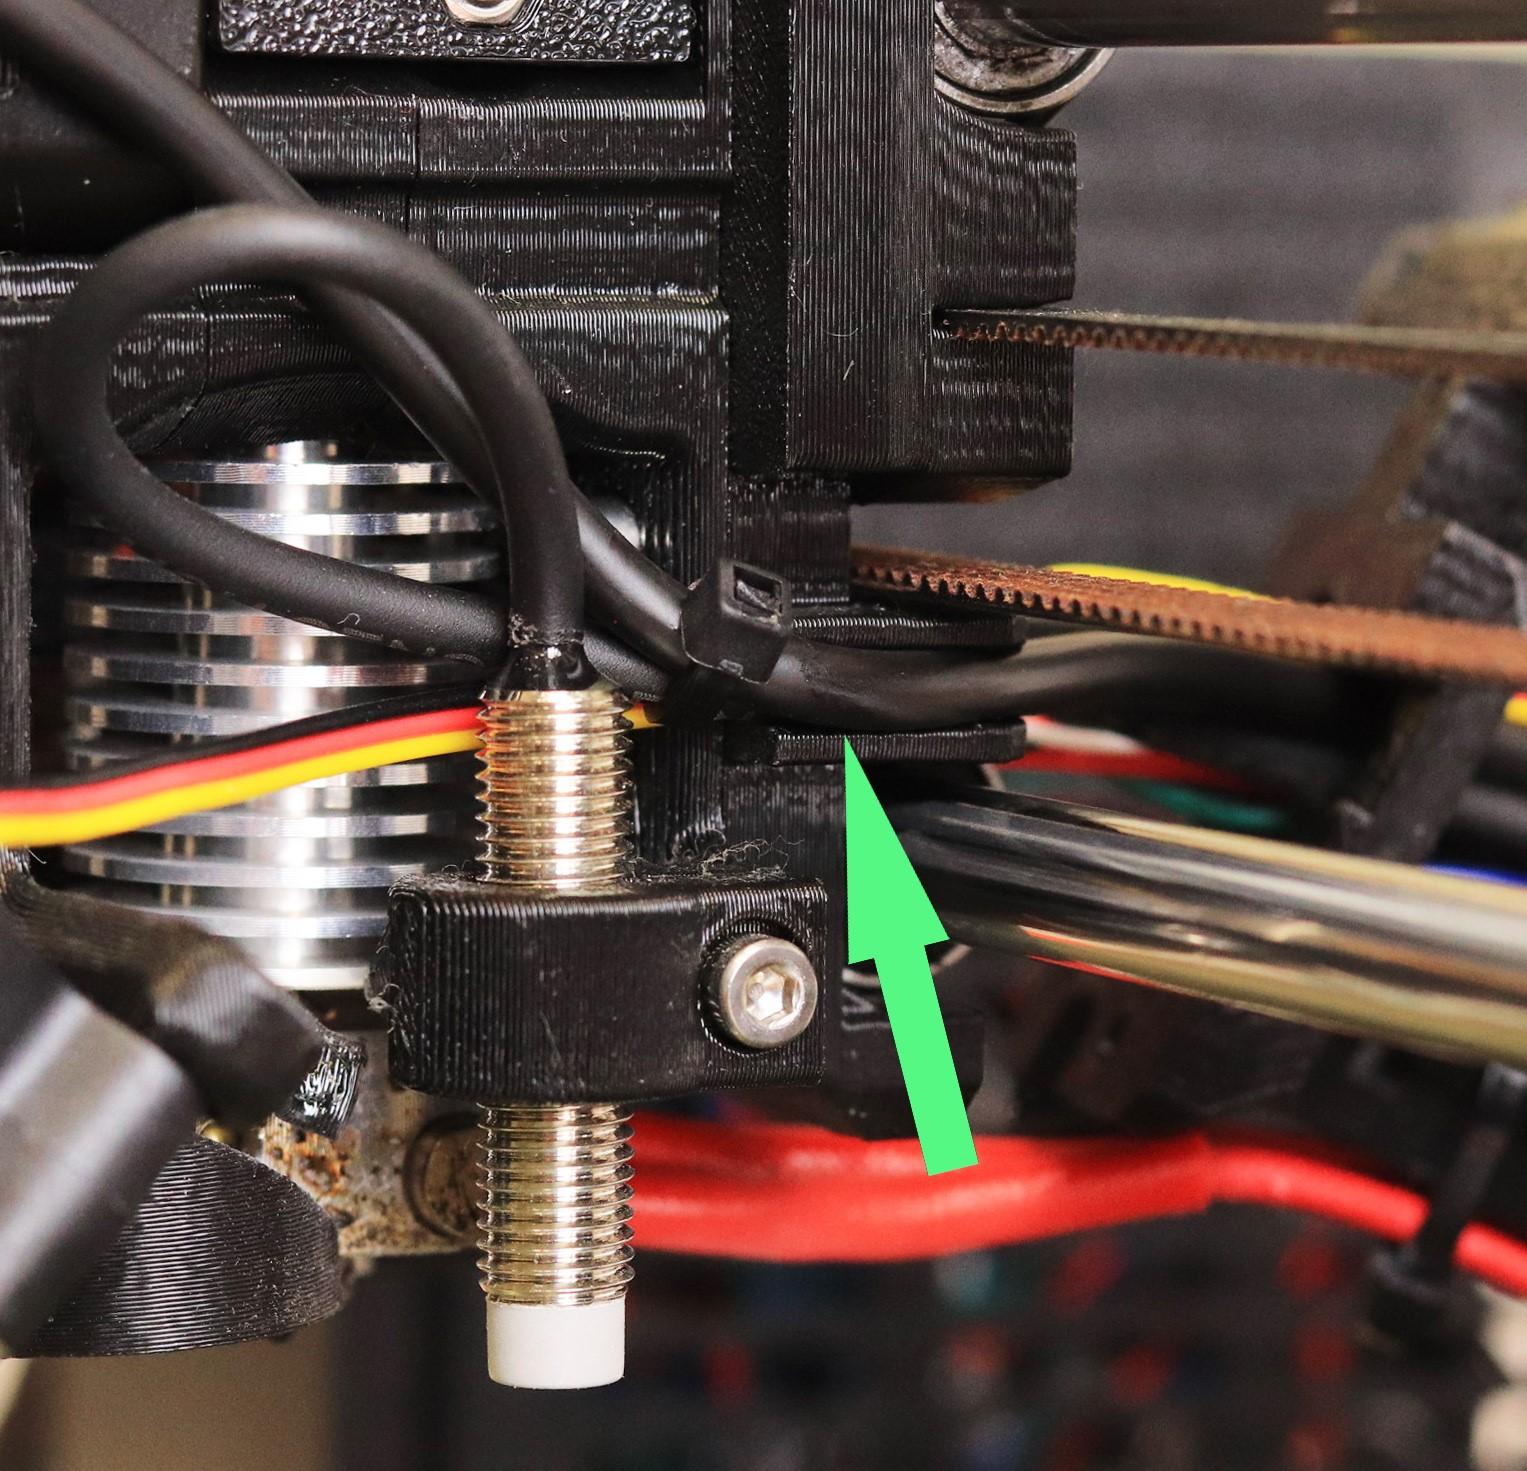
- Set up X-carriage-back back to its place.
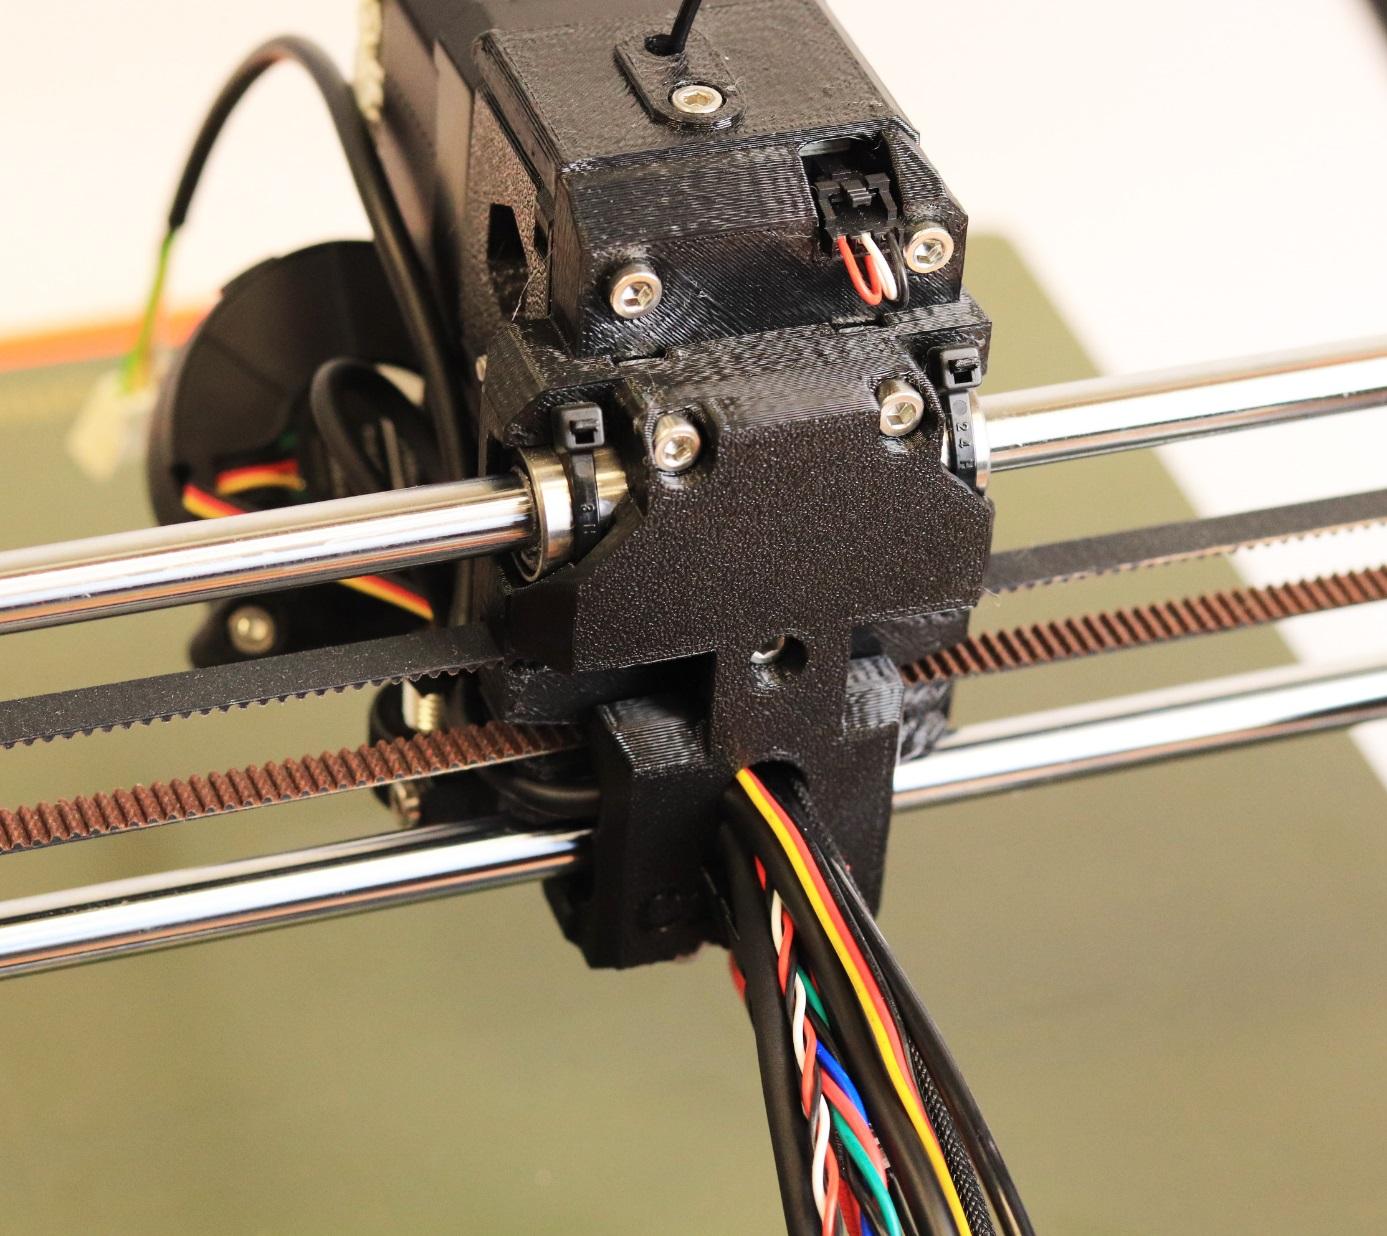
- Twist textile sleeve with PLH3D-2W laser head’s cable added to the bundle and mount the bundle back.

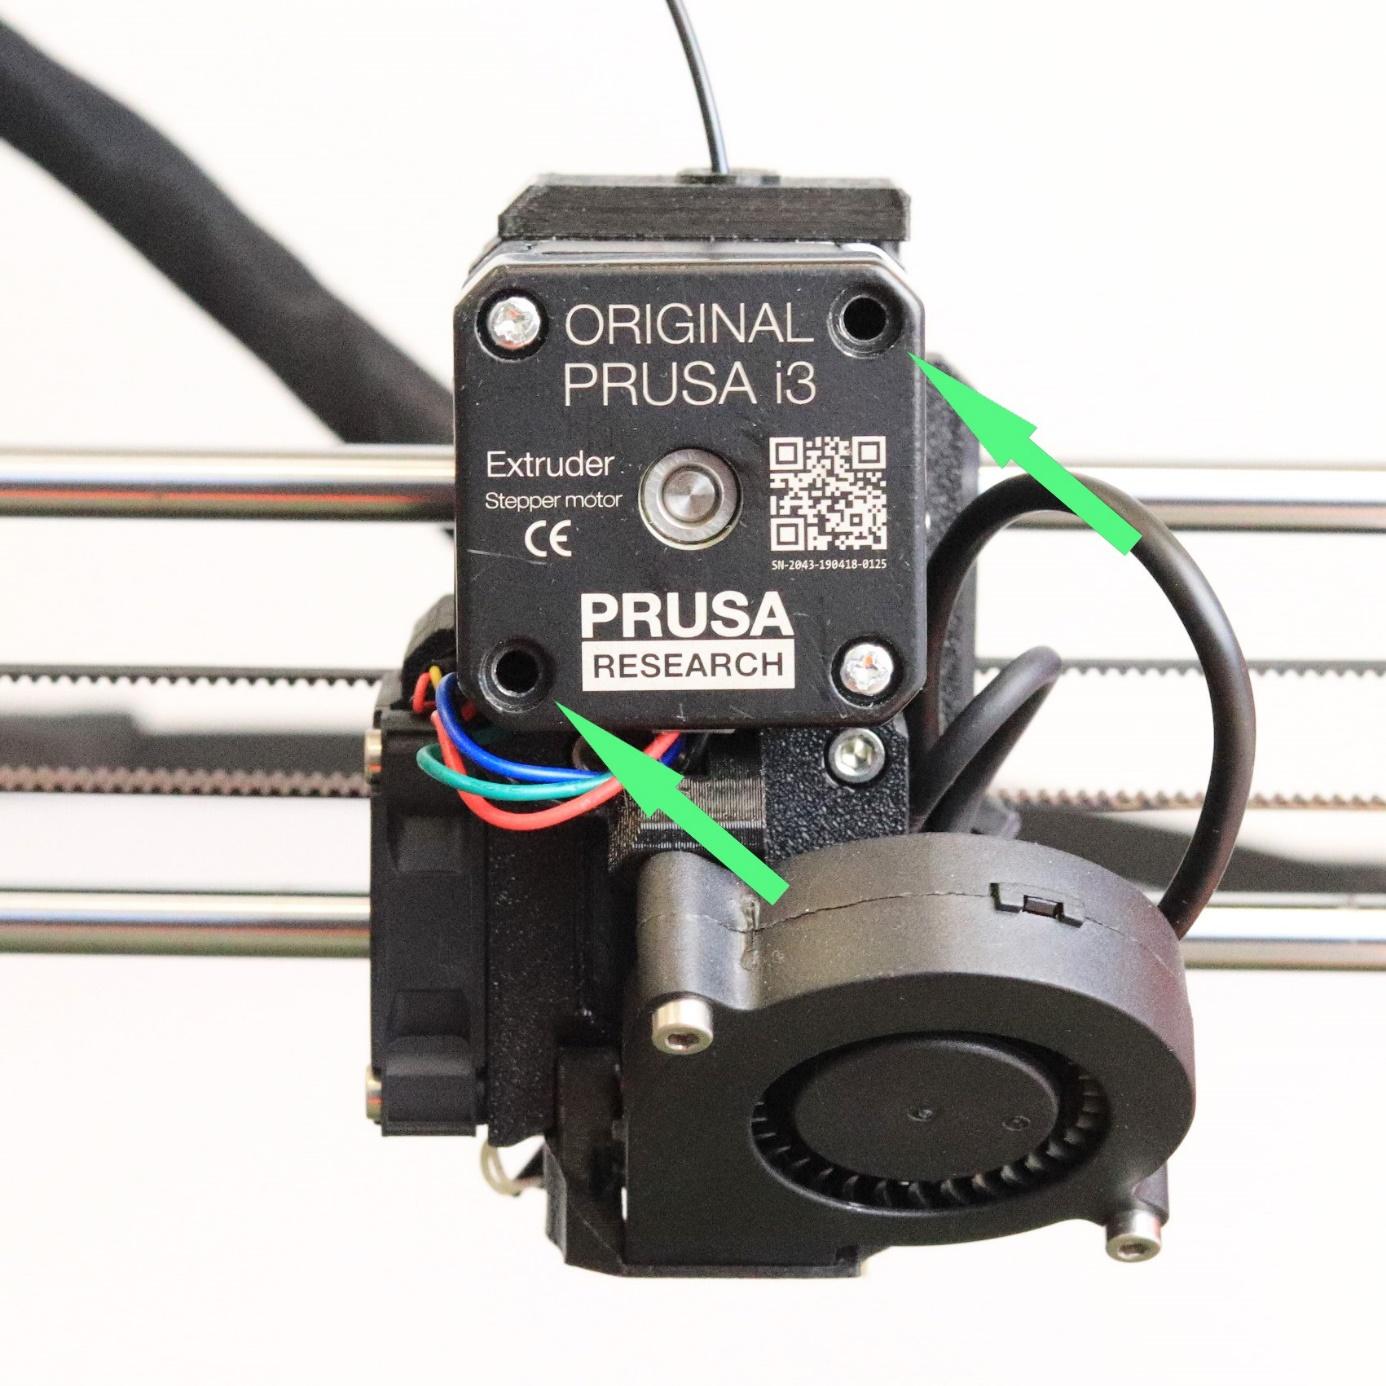
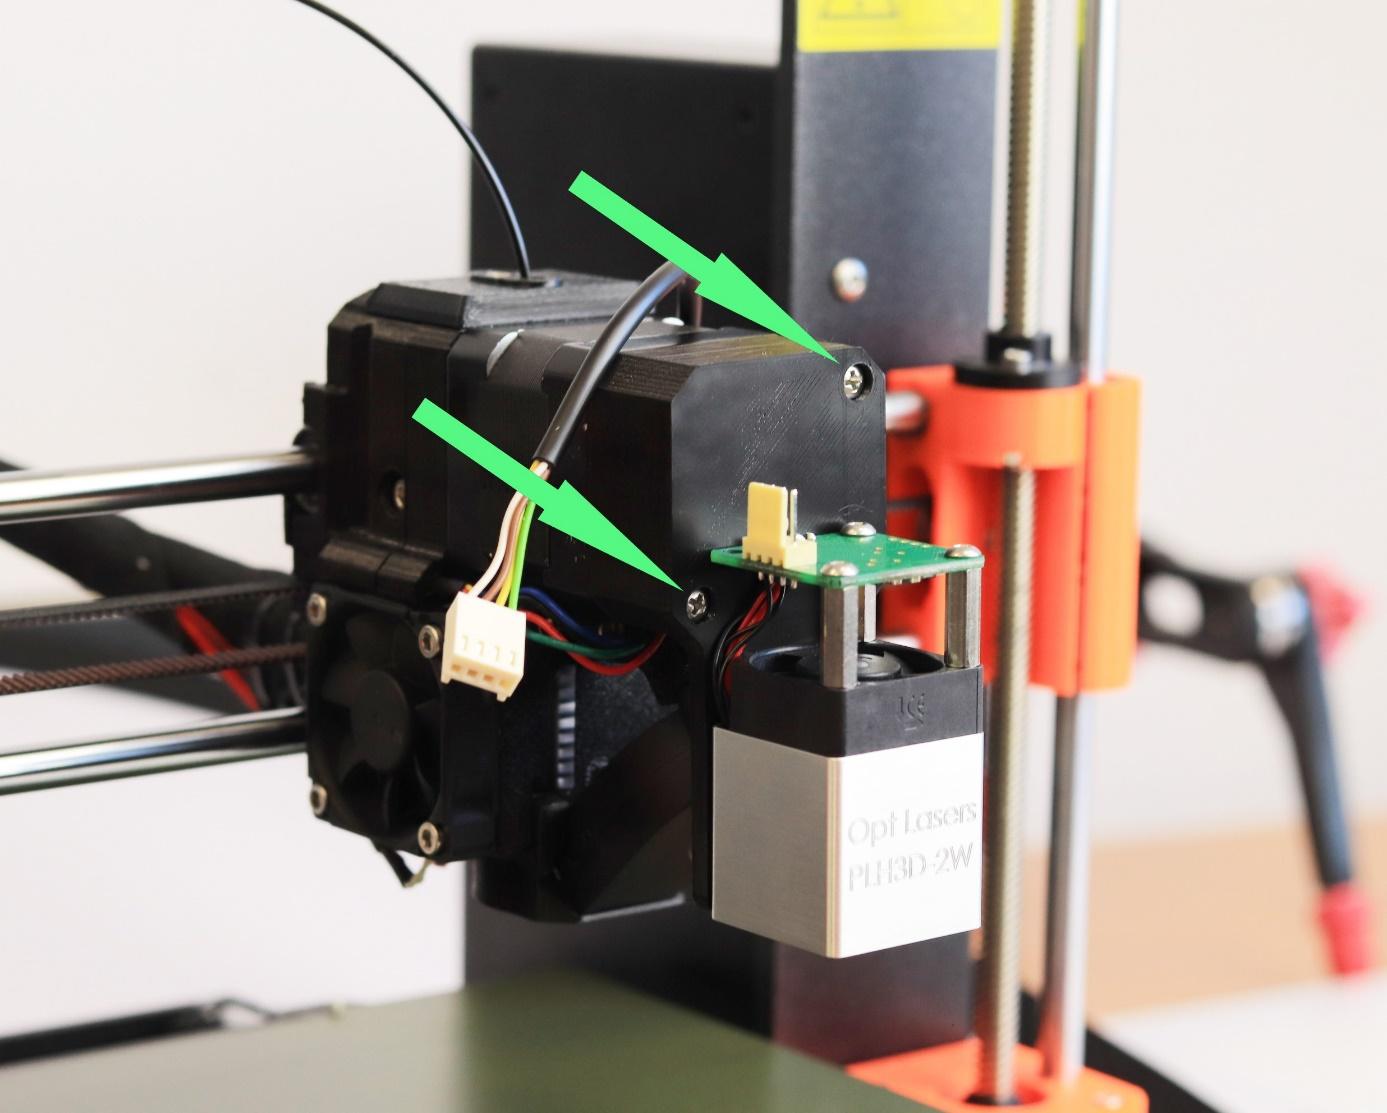
- Unscrew top right and bottom left (view from the front side) of the extruder motor.
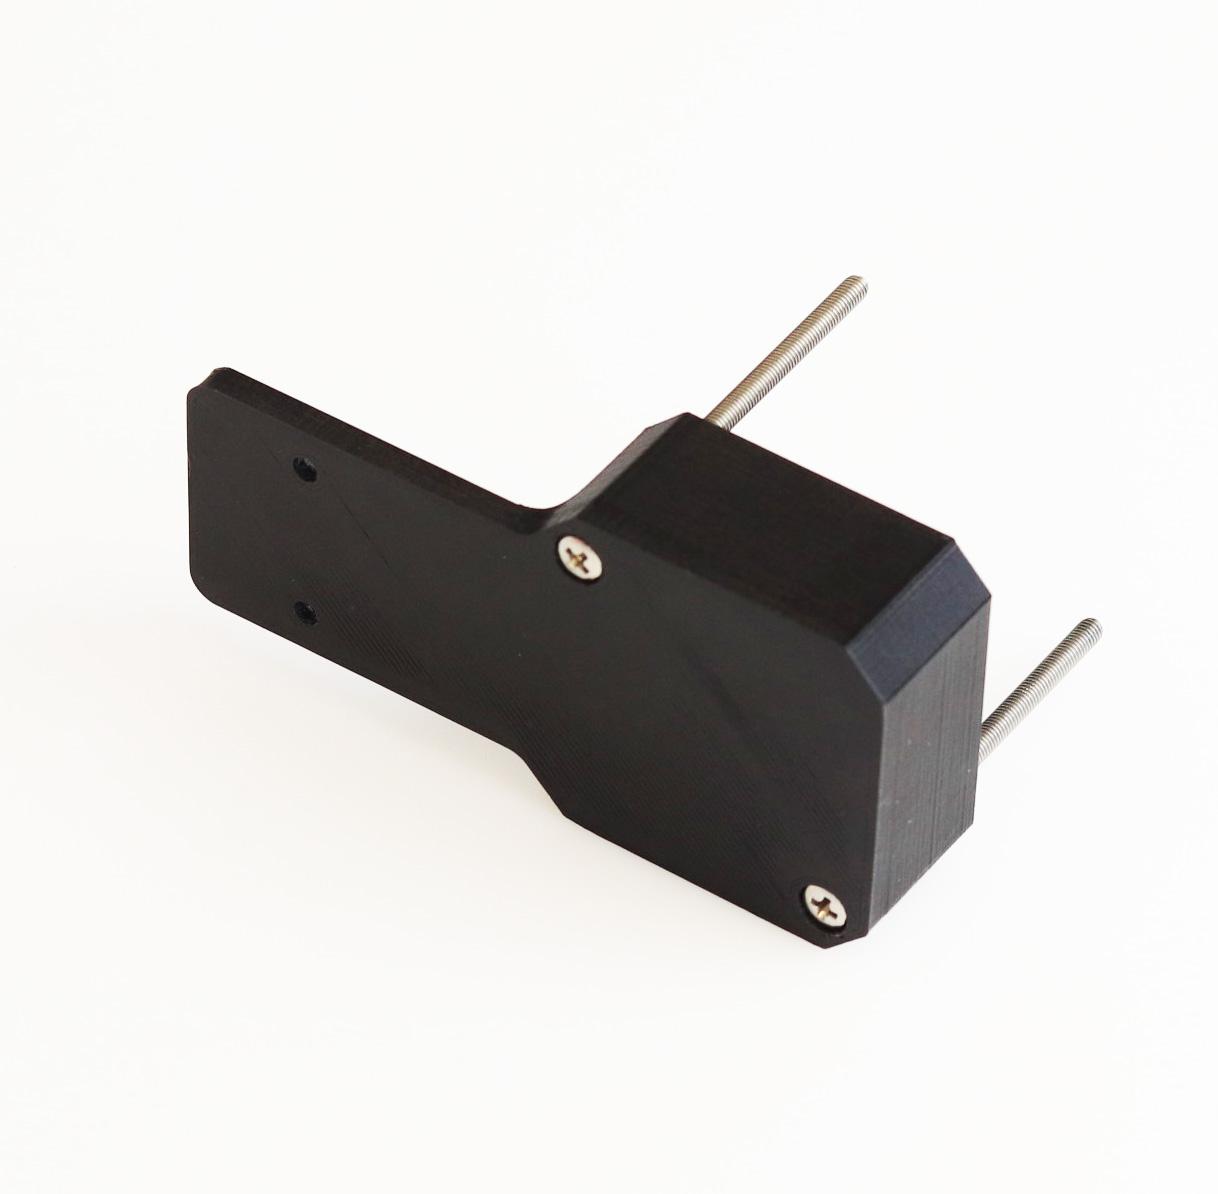
- Push two M3x50 screws through the upper holes of laser head’s holder.
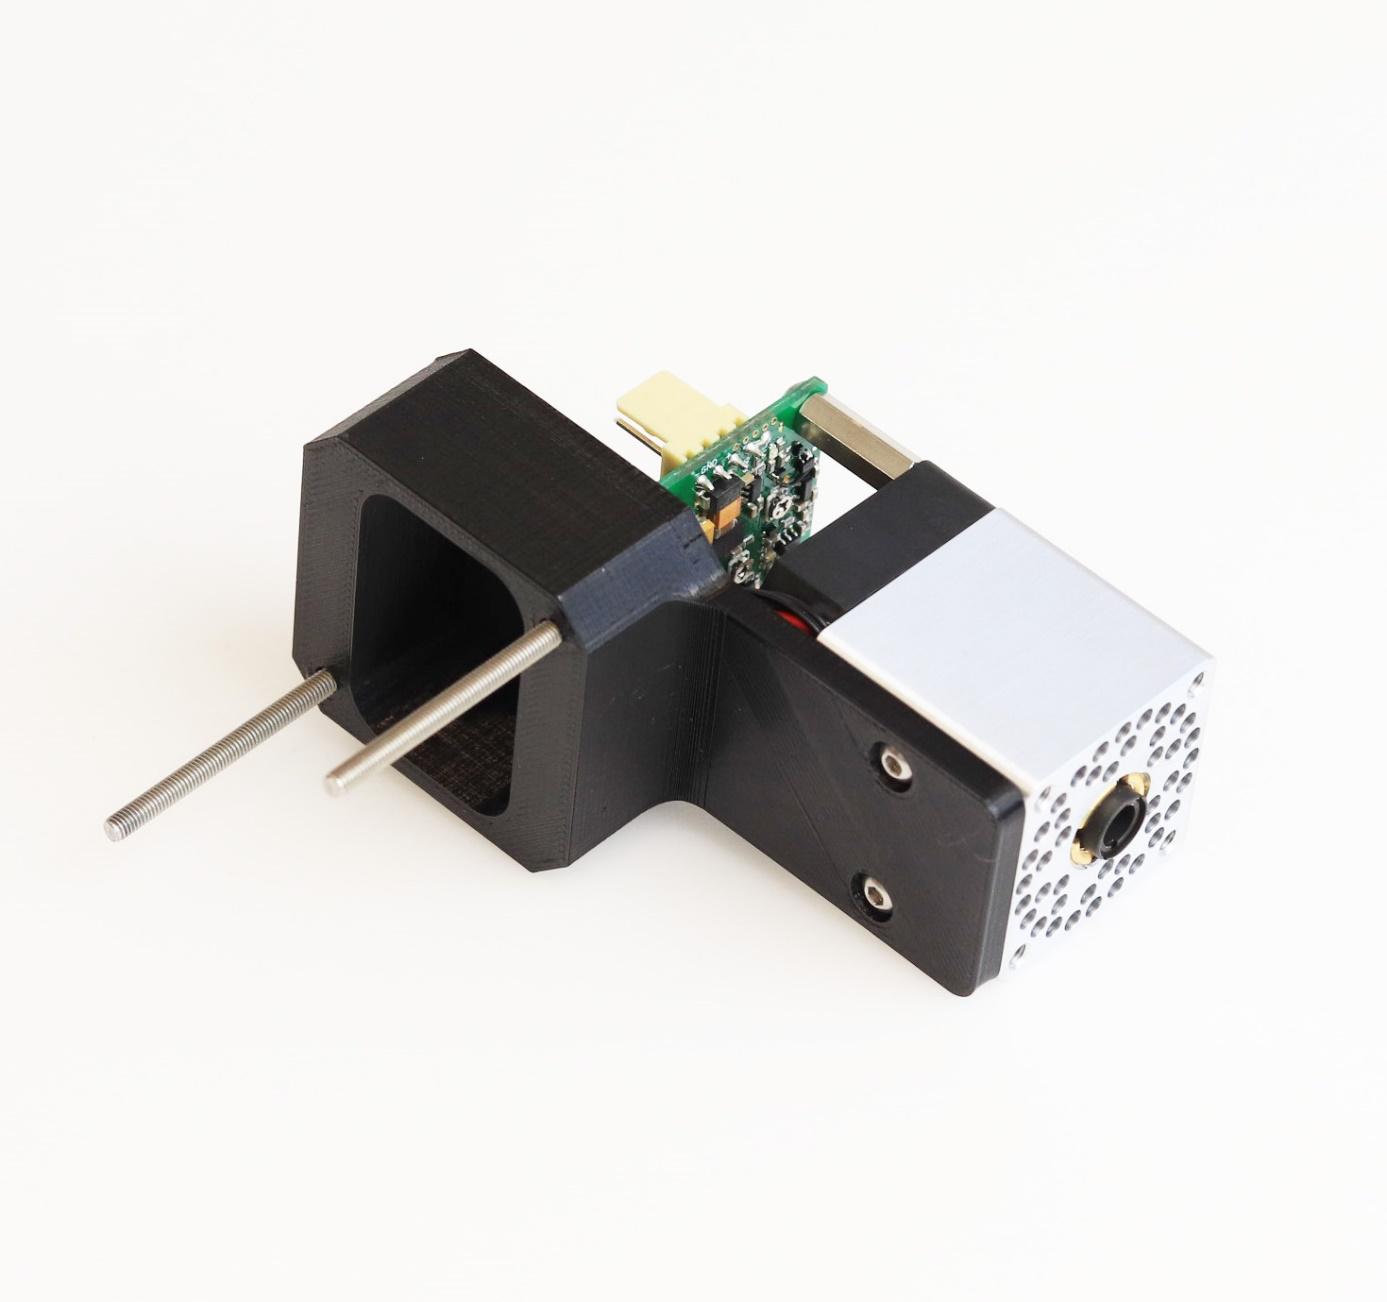
- Mount PLH3D-2W laser head to the holder (use two M3x6 screws).
- Using M3x50 screws, that were set up in the 13. point, mount PLH3D-2W laser head’s holder to the extruder’s motor.
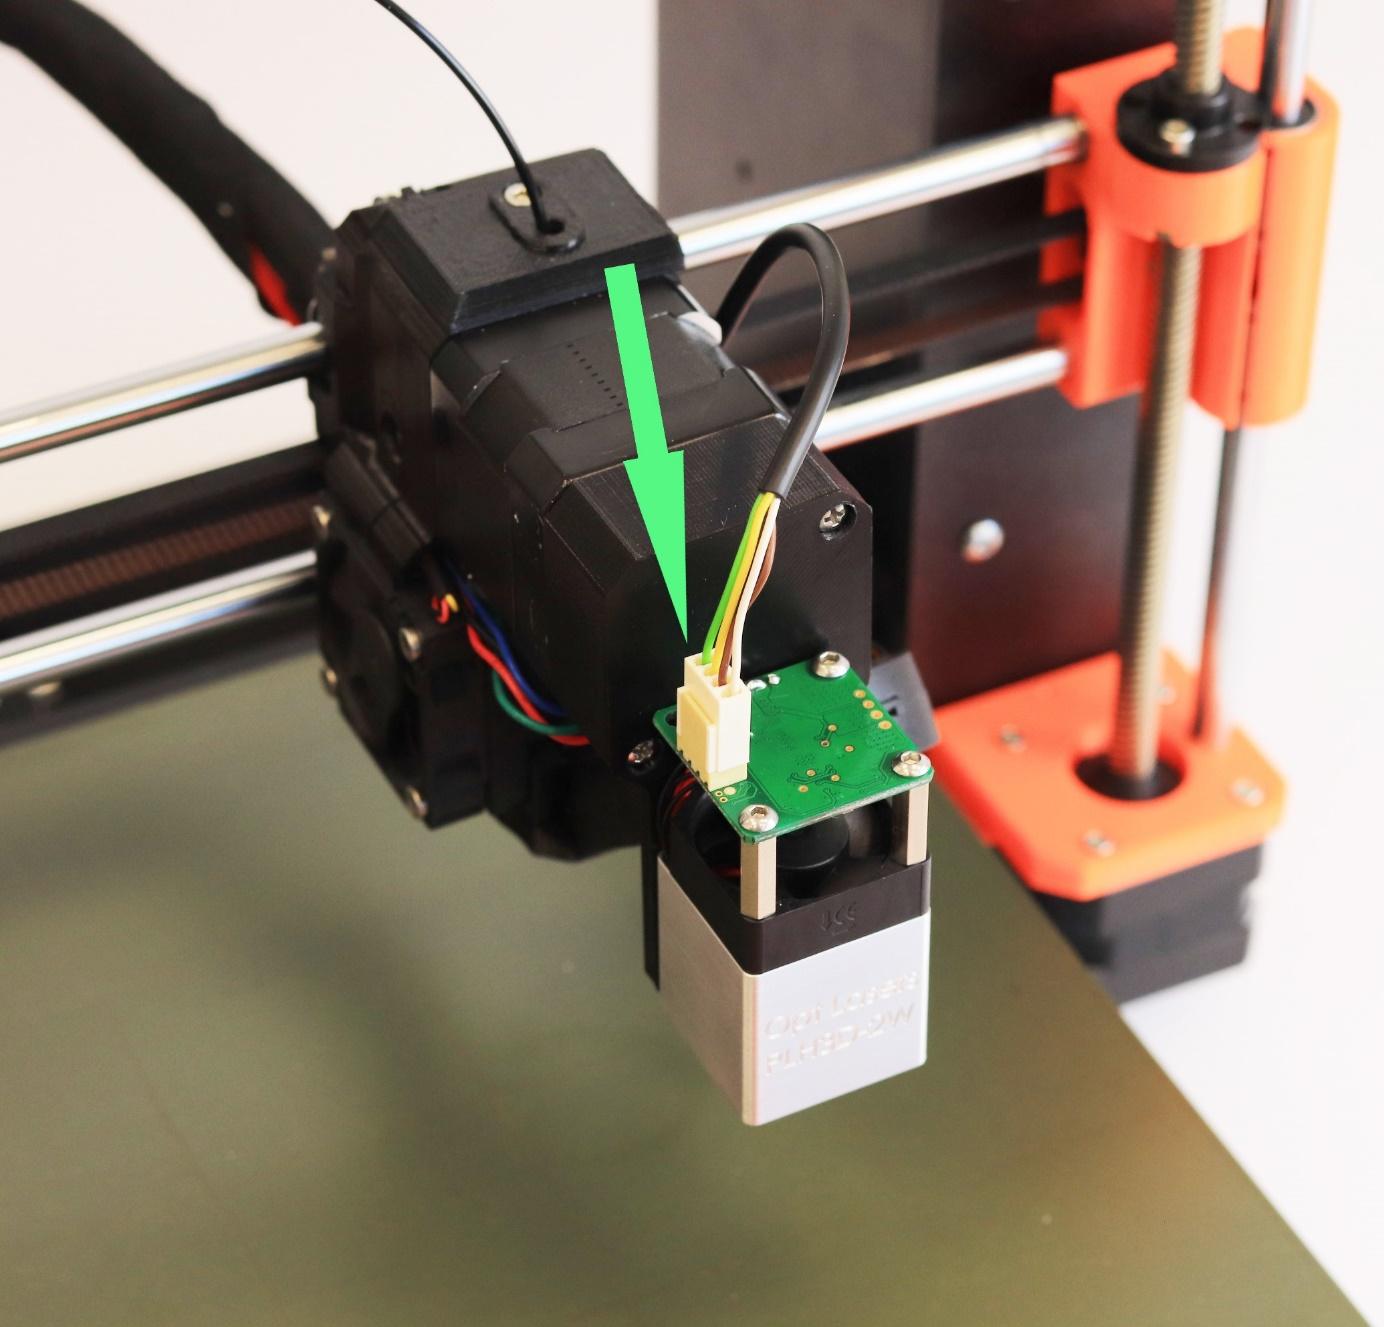
- Before starting work with laser, connect the cable. Always remember to cover heat bed or spring steel sheet with non-reflective material that will protect it from laser. Laser beam can damage heat bed or spring steel sheet very easily!
